Water Damage Restoration: Step-by-Step Guide to Salvaging Your Belongings
Water damage can be a nightmare for homeowners. Whether it’s caused by a burst pipe, a leaky roof, or a natural disaster, the effects of water damage can be devastating. Not only can it destroy your property and belongings, but it can also pose serious health risks due to mold and bacteria growth. In such situations, it is crucial to act quickly and start the water damage restoration process to salvage your belongings and minimize further damage.
Step 1: Assess the Damage

The first step in water damage restoration is to assess the extent of the damage. Thoroughly inspect all affected areas, including walls, floors, furniture, and personal belongings. Take pictures or videos of the damage for insurance purposes and to document the restoration process.
Step 2: Ensure Safety
Safety should be a top priority during the water damage restoration process. Make sure to turn off the electricity and gas supply to the affected areas to prevent any potential hazards. Use protective gear such as gloves, masks, and rubber boots while handling wet materials.
Step 3: Remove Standing Water
The next step is to remove any standing water from the affected area. Use a wet/dry vacuum or a pump to extract the water. If the amount of water is substantial, it may be necessary to call professional water extraction services to ensure thorough water removal.

Step 4: Dry the Area
After removing the standing water, it’s important to dry out the affected area to prevent mold and further damage. Use dehumidifiers and fans to increase air circulation and promote faster drying. Remove wet carpets, furniture, and other items that could hinder the drying process.
Step 5: Salvage and Clean Belongings
Once the area has been thoroughly dried, you can start salvaging your belongings. Clean and disinfect any items that have been affected by water damage. Use appropriate cleaning products and techniques depending on the material and type of item.
Step 6: Repair and Restore
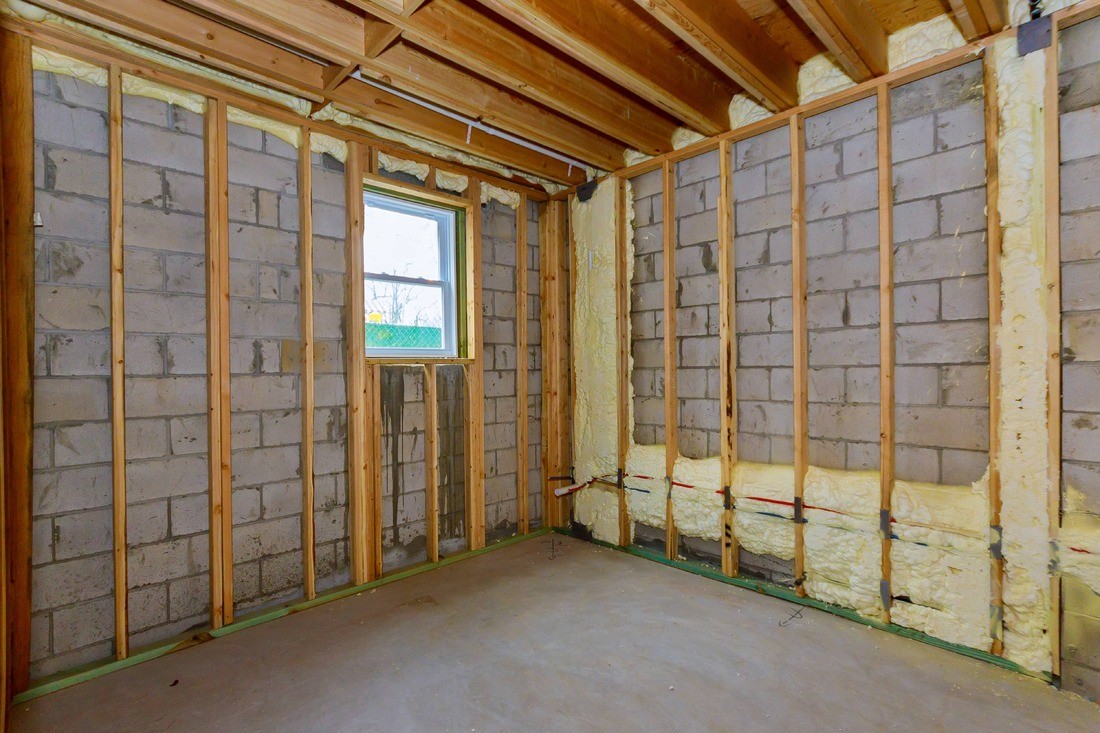
After salvaging your belongings, it’s time to repair and restore any structural damage. This may involve repairing walls, floors, and ceilings, as well as replacing damaged insulation and drywall. Seek the assistance of professionals if necessary.
Step 7: Prevent Future Water Damage
To avoid future water damage, take preventive measures such as fixing leaky pipes, maintaining gutters and downspouts, and ensuring proper insulation. Consider installing a sump pump or a water leak detection system for added protection.
Step 8: Insurance Claims
If you have insurance coverage for water damage, contact your insurance provider to file a claim. Provide them with the necessary documentation, including the pictures and videos you took during the assessment process. Follow their instructions and keep track of all communication and expenses related to the restoration process.
In conclusion, water damage restoration is a step-by-step process that involves assessing the damage, ensuring safety, removing standing water, drying the area, salvaging and cleaning belongings, repairing and restoring the property, preventing future water damage, and filing insurance claims if applicable. It’s important to act quickly and seek professional help when needed to salvage your belongings and minimize the long-term effects of water damage.
For professional water damage restoration services, trust JGW Group Water Damage Restoration. Our team of experts is available 24/7 for emergency water removal, structural drying, and restoration. Visit our website to learn more about our services and to contact us for assistance.
Frequently Asked Questions
What should I do if I discover water damage in my home?
Can I handle water damage restoration myself, or should I hire professionals?
Disclaimer: This article contains affiliate links to products. We may receive a commission for purchases made through these links.


